
DIY wall shelves are an easy project you can do from start to finish without any major power tools. It’s a great way to add more space for storage or decor to your home.
Depending on the materials you purchase, DIY wall shelves are an inexpensive project that even a beginner DIYer can handle.
Why DIY wall shelves?
Plenty of shelves you can buy require minimal installation, so why go the DIY route? The answer is customization.
I chose DIY shelves because I had specific size requirements and a certain style in mind. It was easier for me to choose the wall brackets I wanted and stain the wood myself than to spend hours searching for something close but not exactly what I envisioned.
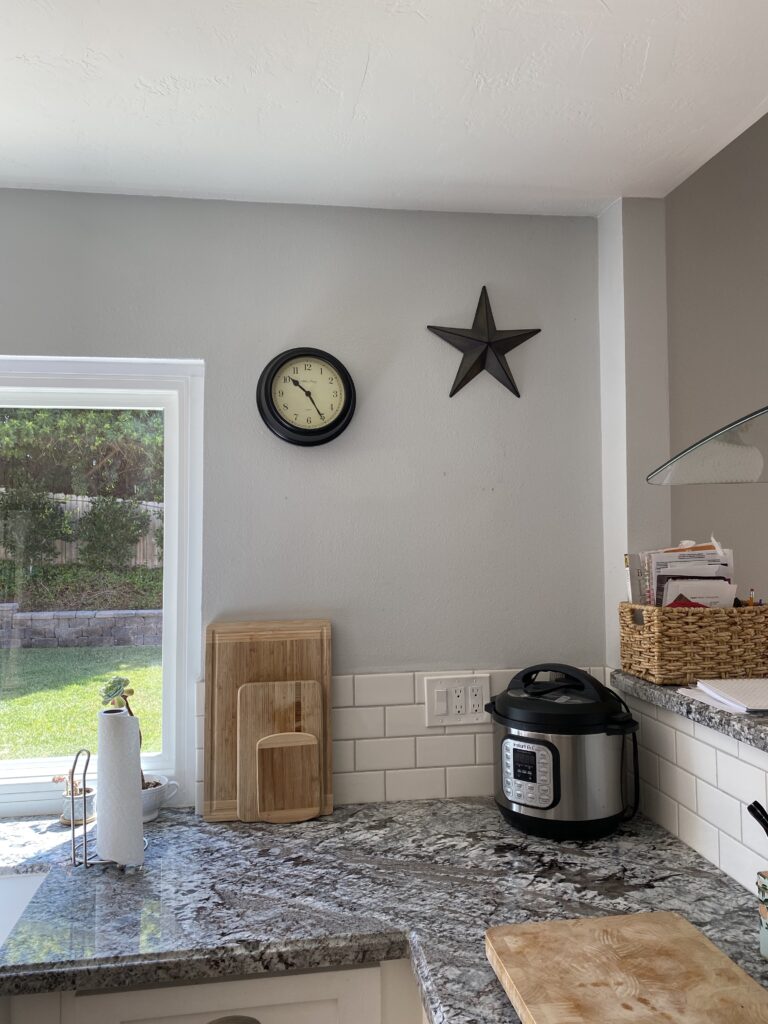
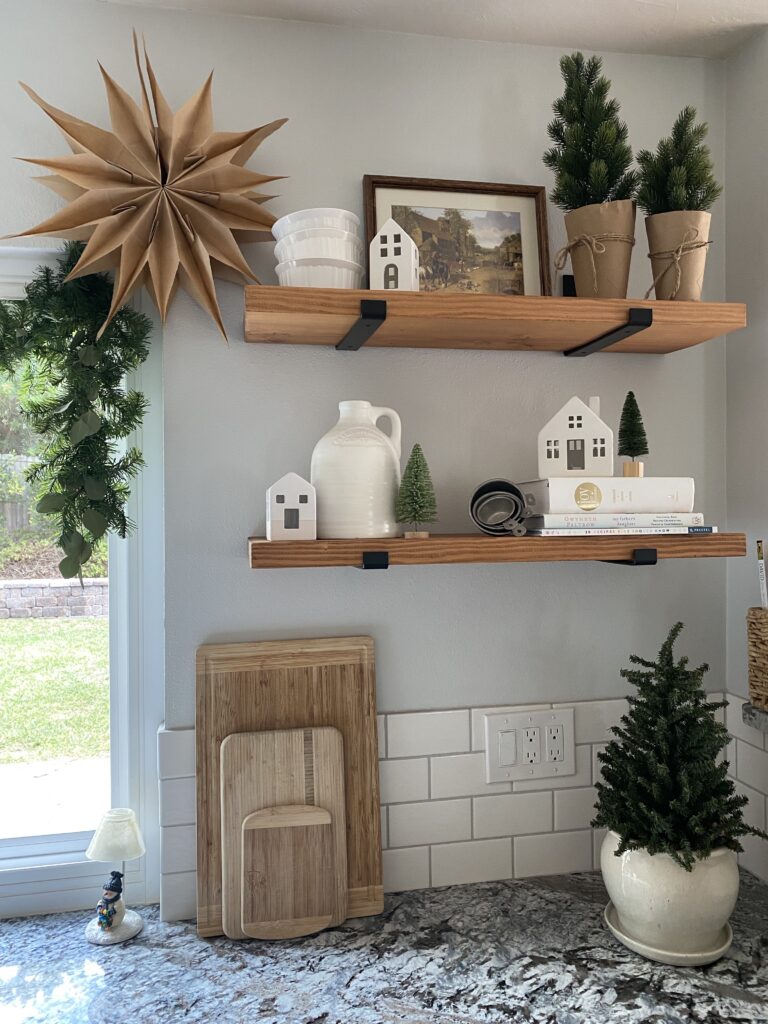
Whether you want a certain size, color, or style of shelf, it’s easy to get exactly what you want when you build the shelves yourself. Below is a photo from before we added the shelves (usually there’s framed art under the star, but I can’t find a photo anywhere).
What materials do you need?
- wood (your preferred type & thickness) cut to the length you need
- sandpaper
- wood conditioner
- stain or paint
- paint brush or rags
- wall brackets (typically come with screws) or cleats (I used these)
- screwdriver/drill
- stud finder
- level
Most chain hardware stores will cut wood to size for free. I chose pine boards that are about 9 inches wide and 1.5 inches thick. I wanted two shelves at 31 inches long apiece, so I picked up a 6-foot plank and saved the leftover wood for another project.
Bonus Tip:
You know the old saying “measure twice, cut once”? This is even more important when you’re getting your wood cut at the store. Avoid wasting time and money by your space and marking the size of the shelves with tape so you can visualize how they’ll look.
I highly recommend Varathane Pre-Stain Wood Conditioner if you plan to stain your wood shelves. It’s easy to use and helps you get a more even stain application.
You also need a way to hang your shelves. The easiest option is to purchase wall brackets. You can find a wide variety of styles, and most come with screws for installation. Keep in mind that you’ll also need drywall anchors if you can’t screw your shelves into wall studs.

How to prep your shelves
Once your wood is cut to the length you want, you’ll need to sand the pieces first with heavy, then finer grit sandpaper. Then you need to clean the wood so there isn’t any wood dust left when you apply the stain. A tack cloth is perfect for this job because it’s slightly sticky and picks up the finer pieces of dust.
Apply your pre-stain wood conditioner with a rag or paintbrush and let it dry according to the directions.
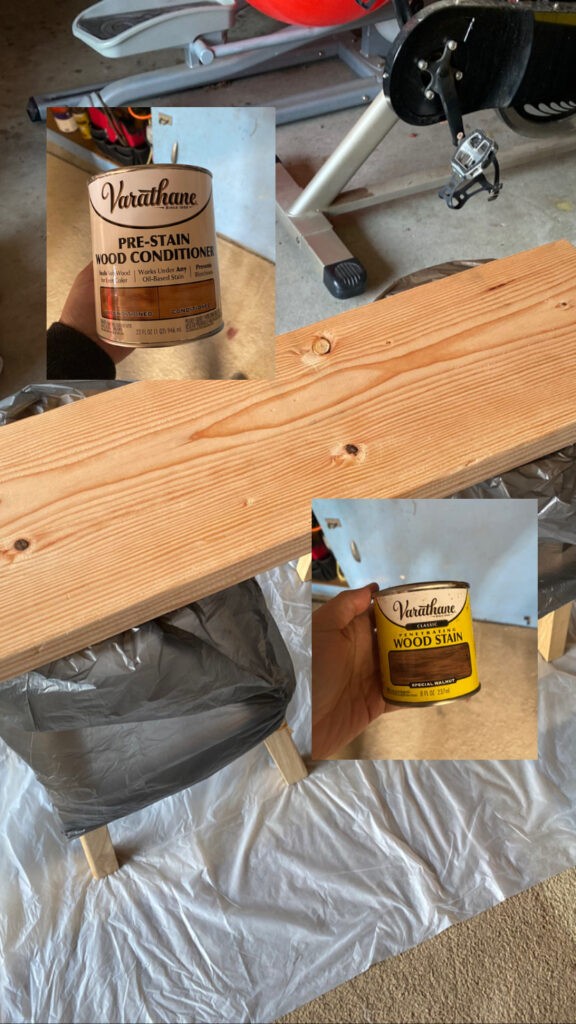
When the wood conditioner is dry, you can apply the stain using a rag or brush. Apply liberally and wipe the excess with a clean rag.
Note: be sure to let the rags dry before disposing – damp stain rags in a bag or container are a fire hazard.
Let the stain dry, and apply another coat if needed until you achieve your desired color.
Hanging the shelves
When the stain is fully dry, you’re ready to hang your shelves. Use a stud finder and measure the spacing for the brackets. Don’t forget to check that your brackets are level!
Attach the brackets to the studs, which will make them more secure. If a stud isn’t available, be sure to use drywall anchors.
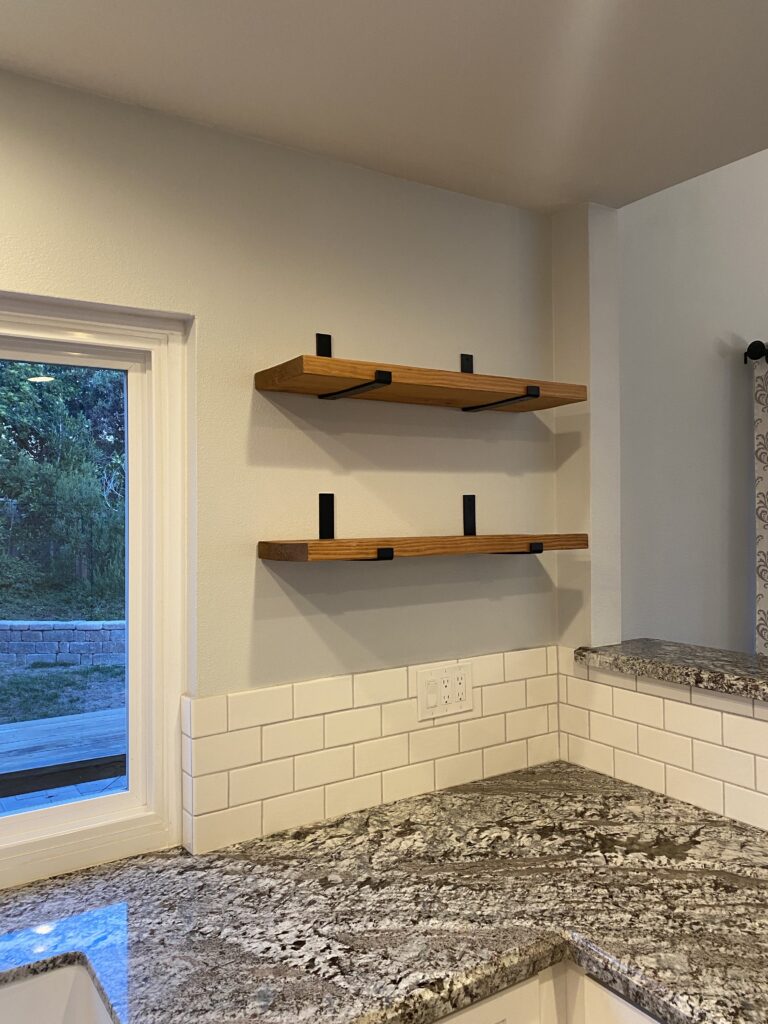
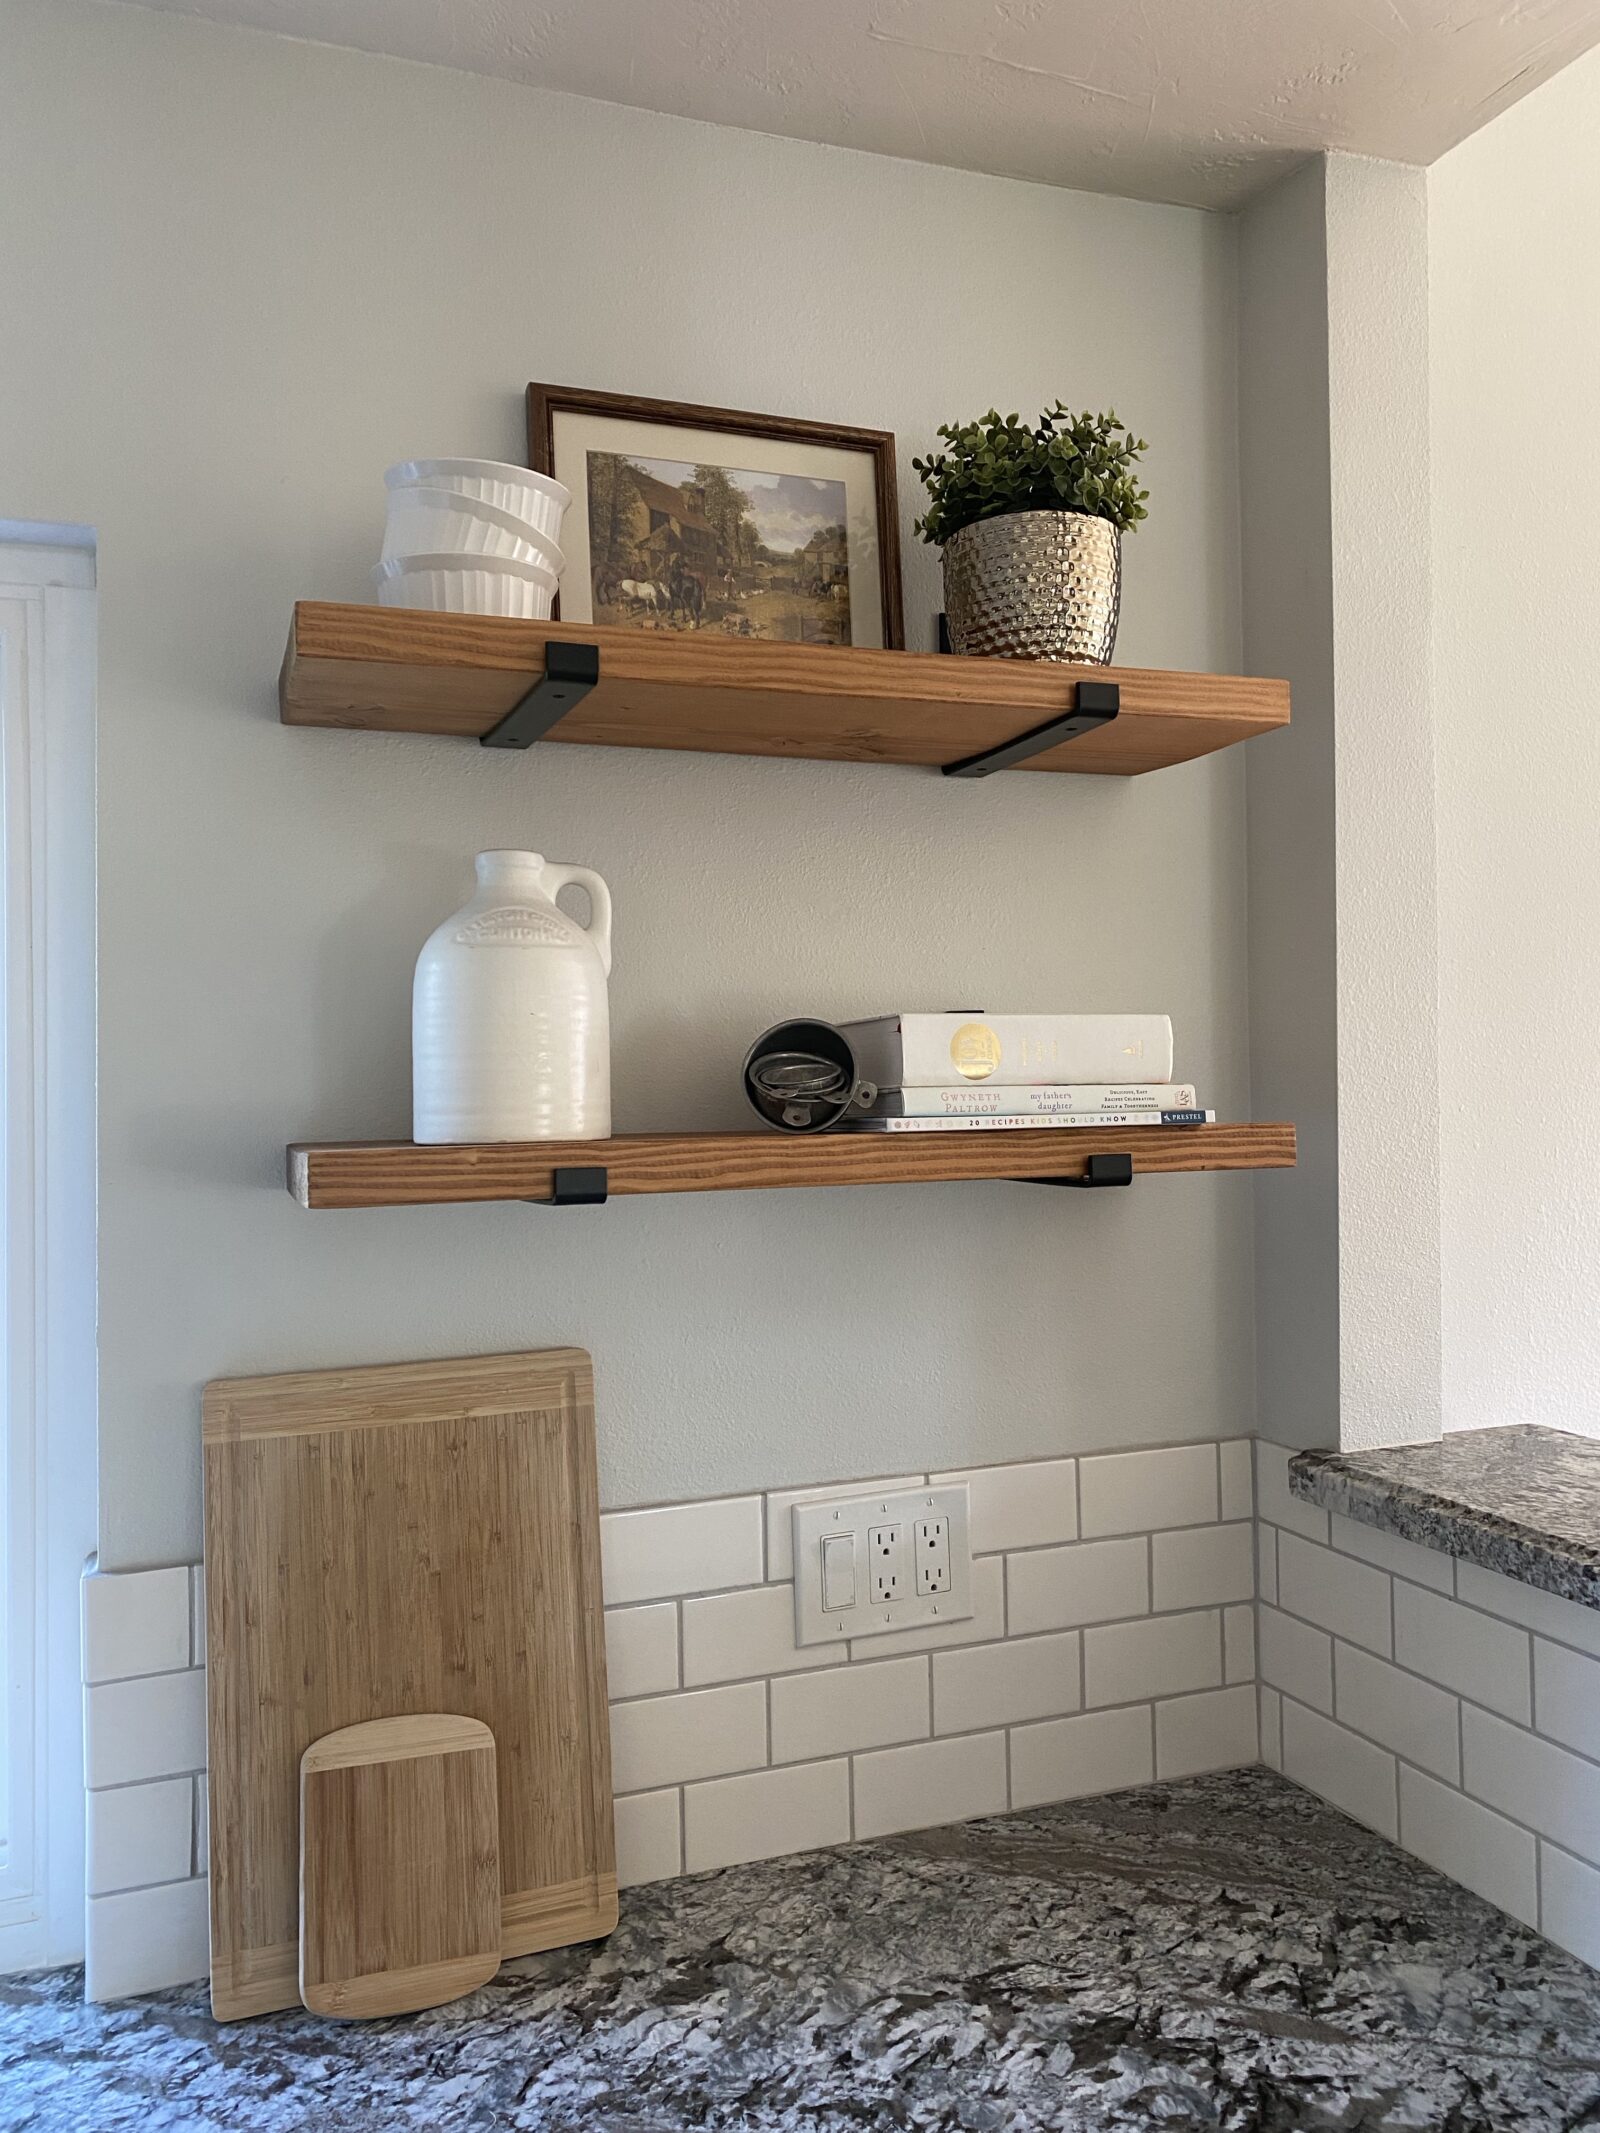
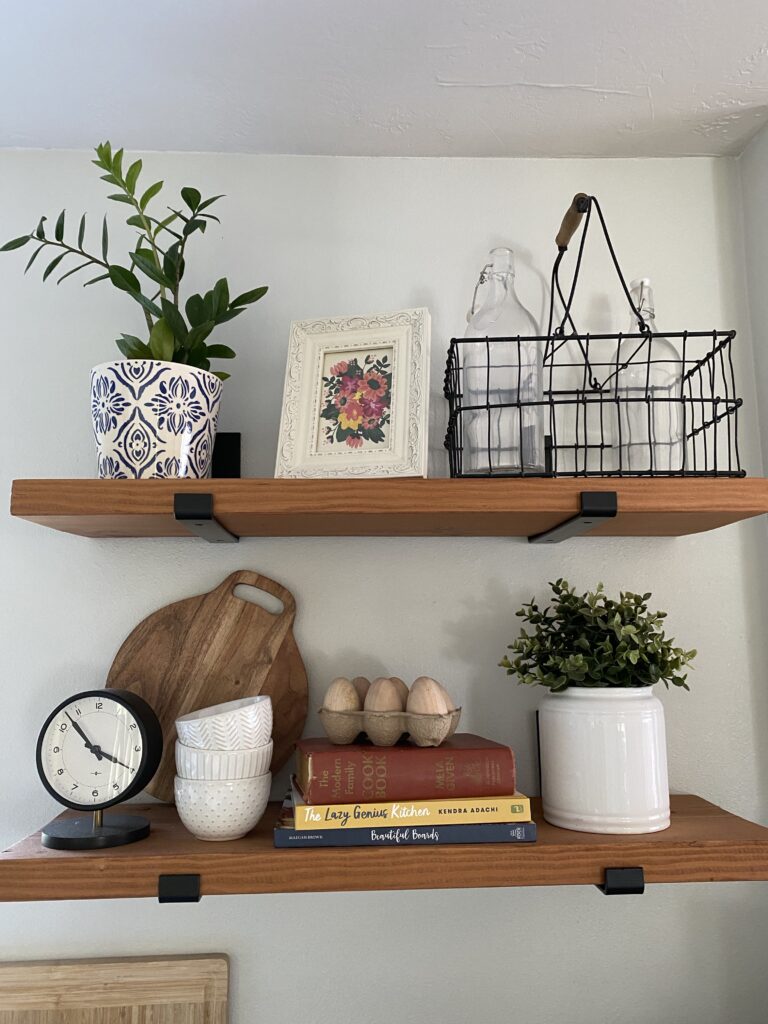
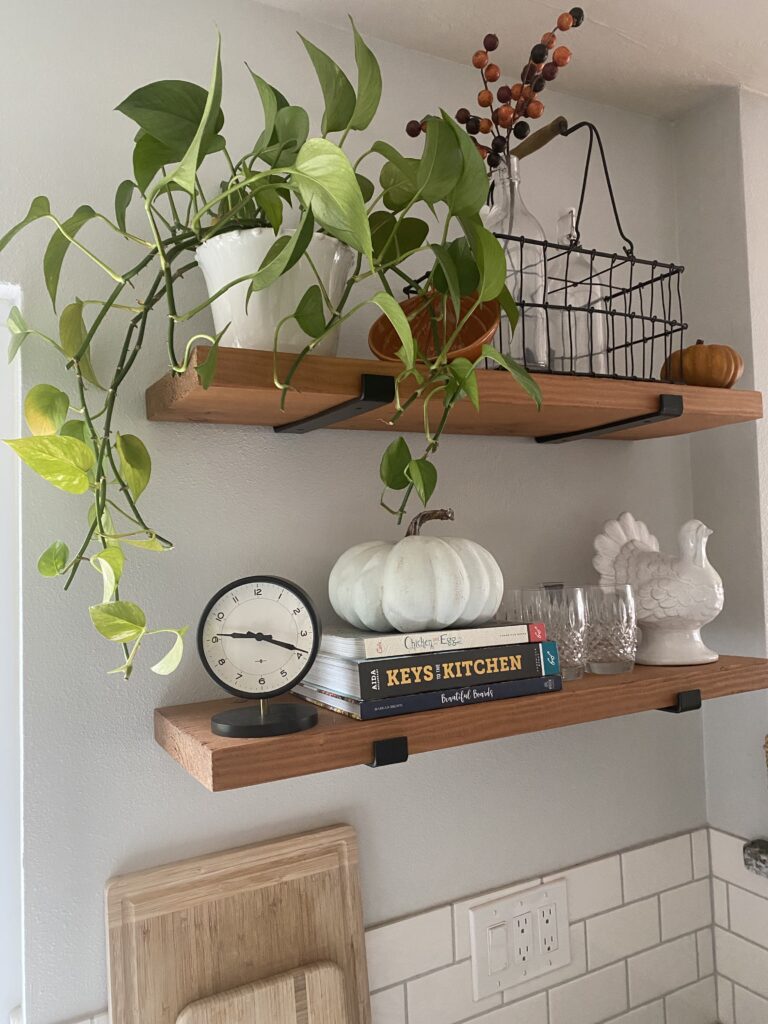
Once the brackets are secured to the wall, attach the shelves to the brackets with screws. Now is the fun part… decorating your customized DIY shelves!
Enjoy your DIY wall shelves and give yourself a high five for completing a substantial project!