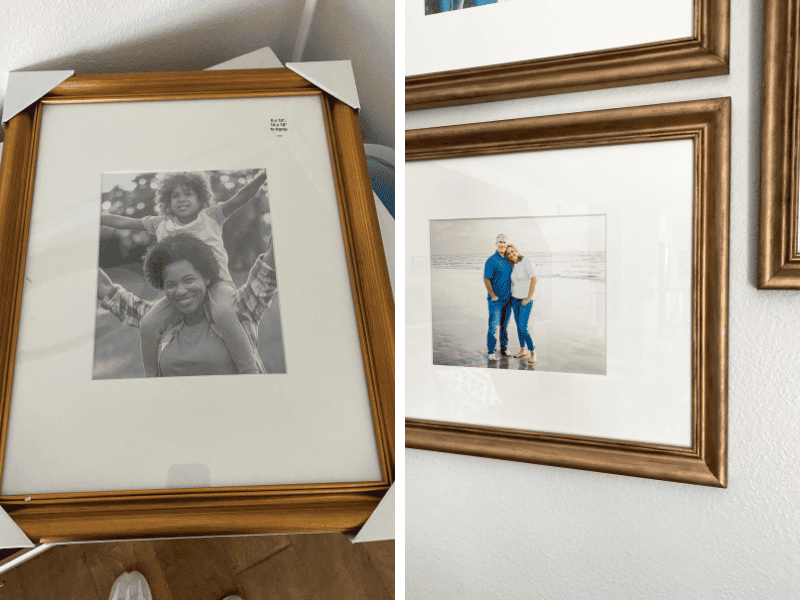
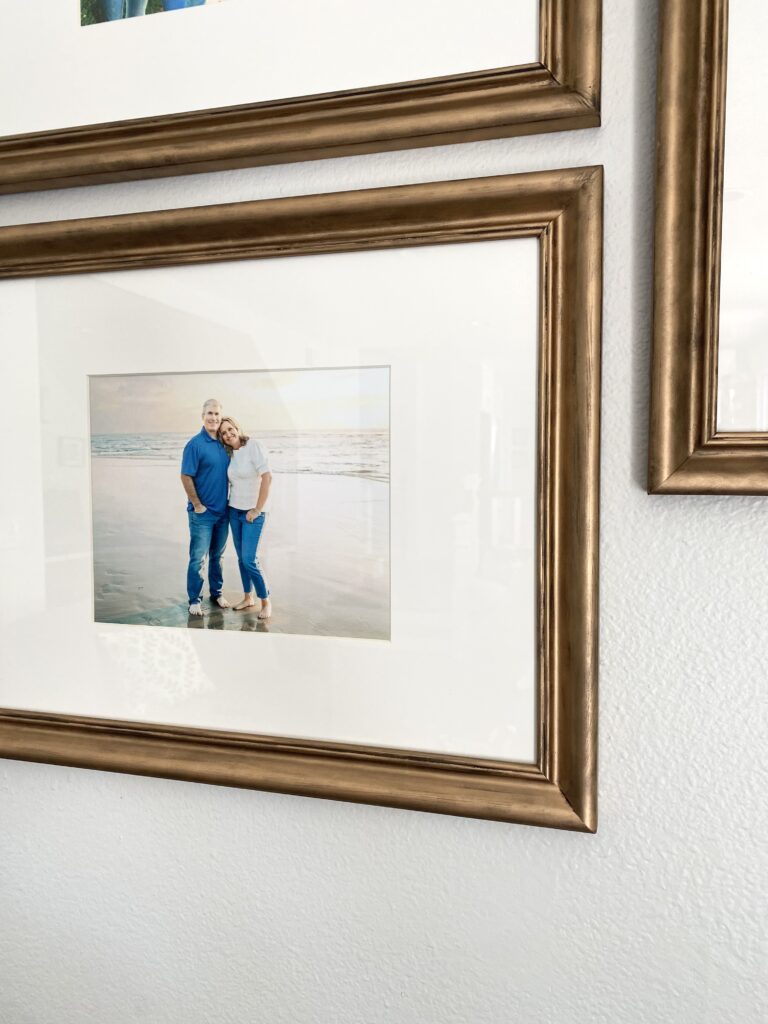
In the fall we had family photos taken. We were long overdue and my lovely and talented friend Tristan captured us beautifully at the beach. I was thrilled to print photos and update our walls, but couldn’t find the right style of frame in my budget. I used this easy DIY frame treatment to customize some clearance Target frames at a low cost.
What you’ll need to make customized DIY frames
- picture frames
- spray paint
- Rub ‘n Buff (I used Antique Gold but there are several shades)
- an old makeup brush or a stencil brush
- sandpaper or a sanding block (fine grit)
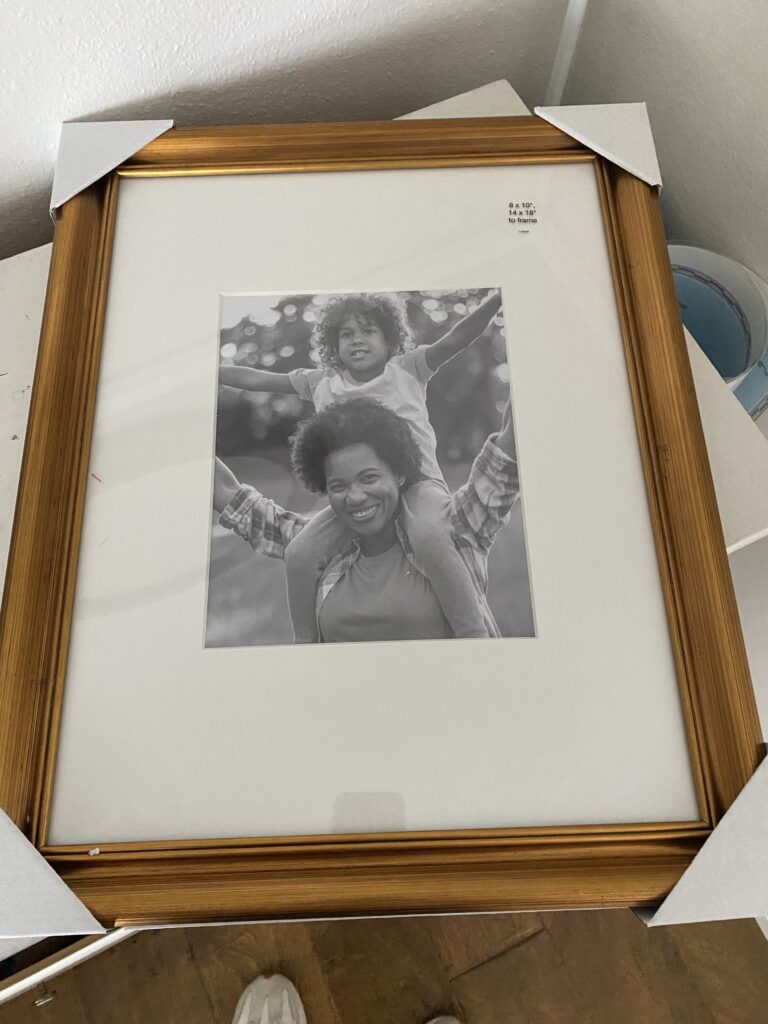
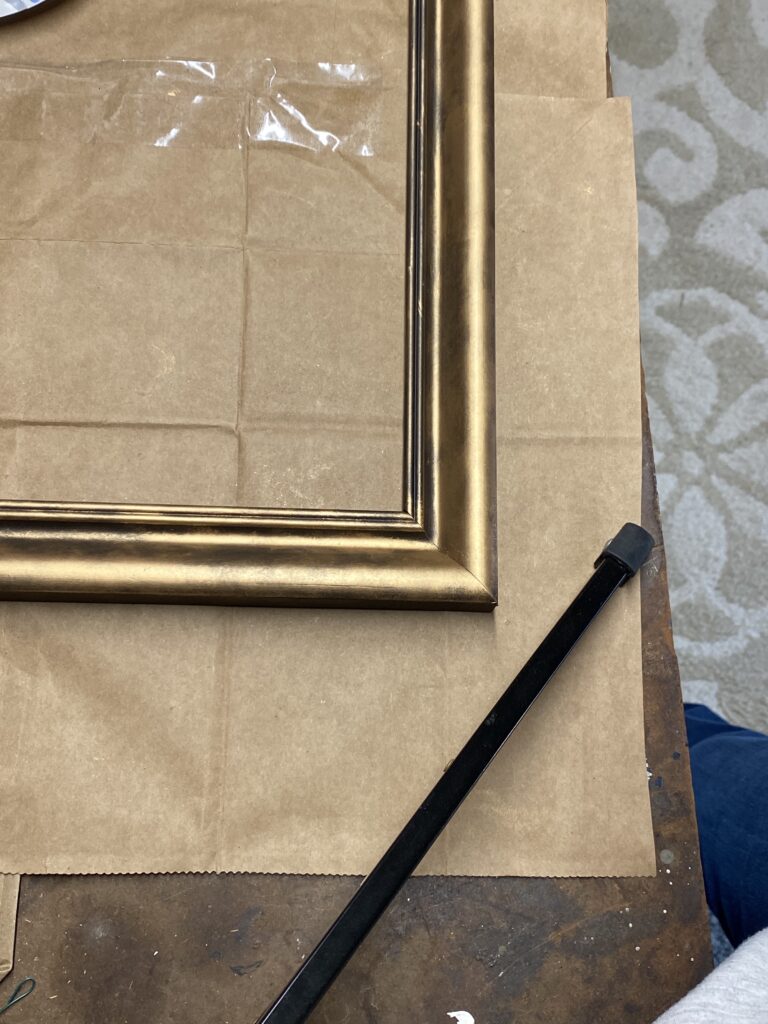
I started with these 14×18 frames I found on clearance at Target. I liked the size and detail of the frame, but the color was a little too brassy and looked orange against our gray-blue walls.
How to give your DIY frames a vintage or antique look
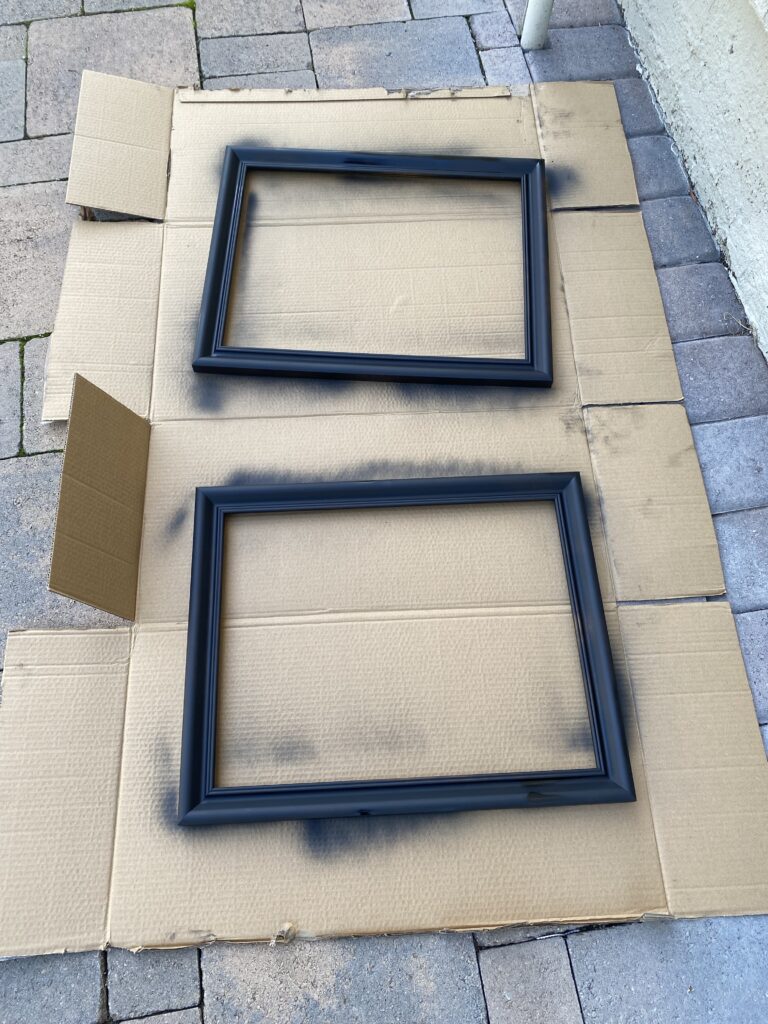
After removing the glass and backing from the frame, I covered them with matte black spray paint. The black paint would cover the original frame color and help give the frames an aged look when combined with the Rub ‘n Buff.
Tip: Instead of trying to get full coverage on the first coat, it’s better to start with a lighter coat of spray paint and add more coats as needed. This helps prevent drips and results in more even coverage.
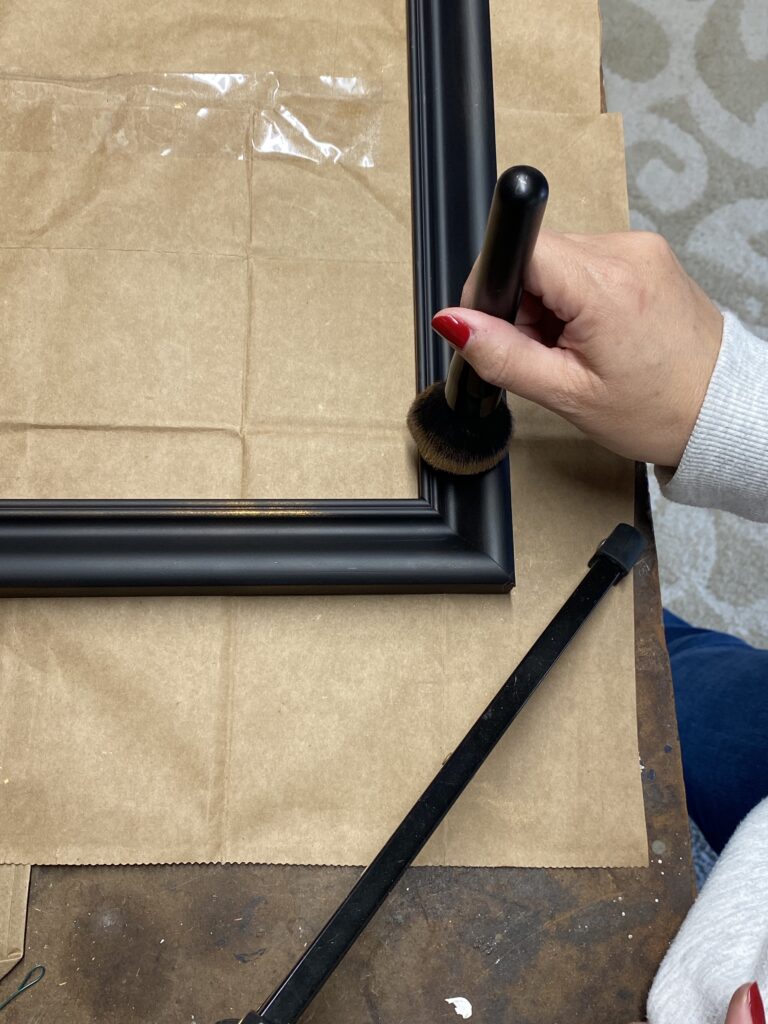
Once the spray paint was fully dry, I used an old makeup brush to apply Antique Gold Rub ‘n Buff all over the frames. This was my first time using Rub ‘n Buff and I was surprised by how quickly it dries.
Work in small sections when applying the Rub ‘n Buff. Squirt a small amount of Rub ‘n Buff on a paper plate, dip the brush, and use swirling strokes to spread it on the frame.
Tip: A brush with stiff bristles works best. After the first frame, I switched from the makeup brush to a stencil brush because it got into the crevices of the frame better.
Once you’re happy with the coverage, you can send the edges, the corners, and some of the crevices to get a naturally aged look. If you take off too much of the gold, just go back in with the brush and the Rub ‘n Buff. It’s not a very precise process. Your frames won’t be identical but that’s part of the vintage/antique look.
Enjoy your customized DIY frames
Let your frames dry for at least 24 hours. Then you can add your pictures or artwork and hang them on the wall. I’m so happy with this budget-friendly DIY project. I love how the frames are cohesive but not identical. The aged patina is exactly the look I wanted.
Have you tried Rub ‘n Buff? If not, it might be perfect for your next DIY project!
*This post contains affiliate links where I may earn a small commission at no additional cost to the consumer.